Best Way to Work with the Soil in Small Garden
In the thirty years since I’ve had my hillside garden there has been an enormous change in the way all of us, and not just gardeners, think about the planet we inhabit. As a result, there’s more sophistication to the efforts of even a rank beginner than there was when I started. Make no mistake about it; I was a rank beginner, all right. The few scraps of gardening “knowledge” I thought I had were what I must have absorbed, however unconsciously, from my gardening family in England many years before. All I wanted to do was grow something, and as soon as the neighboring farmer had opened up that strip of land for me, I was out there with my seeds.
I remember sunflowers, poppies, and marigolds that bloomed well, but I also remember carrots that grew only a few inches and stopped, making hardly any growth at all underground. I recall my farmer friend telling me I would have to “work up the soil,” and another neighbor’s reference to something she called “humus,” without which, she said, I wouldn’t have any luck with vegetables or perennial flowers. I didn’t listen that first year, but I soon found out what they were trying, ever so gently, to tell me.

This is not a treatise on the science of composting or soil improvement in general. There are many excellent books, some of them lively and entertaining reading. All I hope to do here is share with you the enjoyment to be had in working with soil, getting the feel of it, adding to it, and watching it improve, not just for immediate pleasure, but for the sense of doing something as a good steward of the land.
This is all very well, you’re thinking, but here I am looking at something close to a disaster area and wondering where to start. I know it’s a daunting sight—a piece of land left untended for a season or longer. Whether it’s an old and overgrown garden, a neglected pasture, or a long-empty suburban lot that’s been taken over by weeds and worse, you can make your life easier by tackling the problem in logical stages.
First, cut down whatever is growing there as close to soil level as you can. You may do this with a big mower, a weed whacker, a field and brush mower, a scythe—it all depends on the size of what’s growing there, the amount of space you have to work in, and available labor. (“Available labor” really means, “Who’s going to do it?”) Whatever machine is used, rake up as much as you can.
You may think that the next stage, the tilling, will take care of what sod remains, but in my experience it doesn’t. Few home garden tillers can break up those fibrous root masses enough to prevent their growing again, and I’m sure you don’t want to spend the next year or so digging out sprouting roots. Use the sods (grass side down) to outline an area for a compost pile, or stack them in some out-of-the-way place, where they can be left to break down slowly into compost.

If you’re preparing flower beds of manageable size, I recommend hand-digging. You will hear a lot about something called double digging, but not here, though I’ve done it, and I know it’s a wonderful way to provide plants with a deeper-than-usual layer of topsoil. It is said that it will double the life of the garden, but it also may halve the life of the gardener.
Like any other job, digging is a breeze if you use the right tools. Don’t try to dig with a shovel. A shovel is a rounded tool designed to scoop up and carry things like sand or manure. A spade has a flat edge. You aren’t planning to carry that soil anywhere, but merely to turn it upside down. You wouldn’t try to cut an apple with a teaspoon; you’d use something with a knife edge, so use a spade.
I enjoy digging. I find out a lot about the soil as I dig. I remove large stones, dig out the taproots of obstinate weeds, and take note of the activity of below-ground creatures. Often I discover how different soils are from one part of the garden to the next. This information is invaluable when choosing the right place for a plant.
If you have a year’s lead time, October is the ideal month for digging. Clear skies, cooler temperatures, and no insects make it a pleasure. If your soil has been tested and found to be too acid, this is an excellent time to apply lime. It should be spread on top and allowed to work its way into the open soil over winter.
This is the only time it is safe to leave soil open. Normally, you’d sow a cover crop. Annual weeds don’t grow in winter, but the seeds are right there, as they will be for years, ready, willing, and able. And they can beat you to it in spring if you’re not quick.

After the winter cycles of freezing and thawing, the soil should be crumbly, well-aerated and, once it dries out sufficiently, ready for planting. I can’t overemphasize the importance of waiting for the soil to dry.
To keep you out of trouble while you’re waiting, you might take a look at some established flower gardens in your neighborhood. From them you can learn a lot about what to expect in your own garden. Whatever is up and growing has come safely through the winter and must be pretty hardy. While your neighbor is showing you the garden, admire what you see and like—it may be a large plant that’s due for division, in which case you could be in luck.
Recent Articles
 How to Understand Bed Sizes – A Small Guide
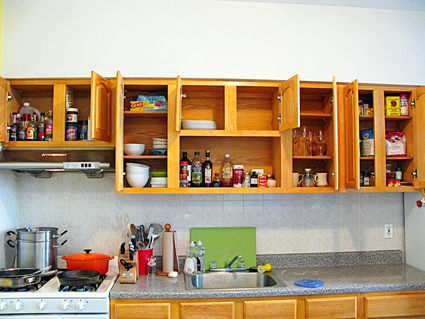 How to Select Some Must Have Kitchen Accessories
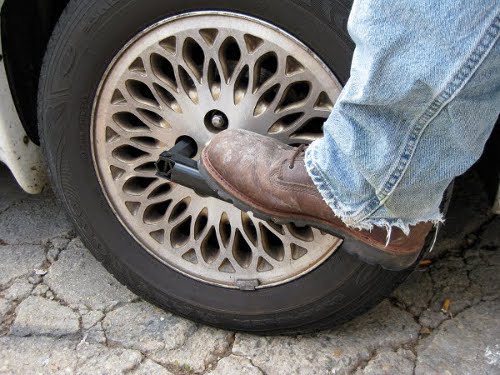 Best Way to Change a Car Tire
 Best Way to Write an Affirmation
 Best Way to Take Charge of Your Financial Life
 Best Way to Survive a Party When You Don’t Know Anyone
 Best Way to Stop Self Sabotaging Yourself
 Best Way to Start Journal Writing
 Best Way to Speak with a Powerful Voice
 Best Way to Simplify Your Life
 Best Way to Respond to a Put-Down
 Best Way to Reduce Acne Breakouts
 Best Way to Recover from Dining Disasters
 Best Way to Quit Your Job Gracefully
 Best Way to Make Your Own Website
Leave a Reply