Best Way to Insulate Lofts
The first loft that I ever insulated was our family home – the memory of which will stay with me forever! My dad had a really wicked sense of humour, forever playing games and having a wind up. I was very young and naive and I believed and trusted everything he said.
Dad had applied tor a loft insulation grant, which was available at the time, and asked me to insulate the loft. The rolls of glass fibre were delivered and I went up to fix it (bearing in mind that I was only about fourteen years old and getting paid about $10, which was a lot of money then). Because it was midsummer, dad said it would be boiling in the loft as we had a slate roof, which really soaked up the heat. He also said it would be dirty (he was right there!), so I decided to do the job dressed only in shorts and boots.

At the time this seemed like one of my better, bright ideas, because of the intense heat in the loft. It was also much easier to move around the loft unencumbered by overalls and so on. If like me at the time, you have never worked with fibreglass before, you may be forgiven for not understanding what happened next, but my dad – he knew what I was in for!
If I were to run a tyranny, the best form of torture I could impose, would be to strip them naked and rub fibreglass wadding all over their body. I was itching and scratching for two tortuous days and nearly tore my skin off. Dad, as usual, thought the whole thing hilarious but denied any responsibility!
The moral of the story is twofold: one, don’t necessarily believe everything your dad tells you; and two, if you want to insulate your loft, do the job in cold weather and cover yourself up with layers of clothes – overalls, gloves, hats, goggles, masks, the lot – so there are absolutely no gaps!
There are two main types of insulation – blanket (in rolls) or loose fill (in bags). The most common form of insulation is the blanket type. The recommended minimum depth of insulation is 150mm (6in), but the more the merrier – remember 25 to 30 per cent of heat loss occurs through un-insulated roofs.
Prepare for the job properly and work off a couple of short scaffold boards laid across the joists. If you don’t have a permanent light in your loft, use a lead light hung up at a high vantage point. Bring all the insulation into the loft space but don’t open any of the rolls until you are actually ready to fit out the loft. When packed, the insulation is compressed, so when it’s rolled out between the joists, it will expand a bit. The rolls are approximately 39-41cm (15-16in) wide x 7.5m (25ft) long. Trim the ends in a chamfer shape to allow airflow from the eaves, then begin rolling out the insulation blanket. Try to ensure that electrical cables aren’t covered by the insulation. Lift the cables and roll the insulation underneath. This will avoid any overheating of the cables. Also ensure that any light casings or lamp fittings protruding into the loft are not covered. Trim closely around these with an extended craft knife or sharp kitchen knife. Beware of cutting any cables! To make doubly sure none of the heat escapes from your property, lay a second layer of insulation at right angles to the first and cover right over the joists. The procedure is the same as that for the first layer, as are the precautions.

If you are using loose fill insulation, it is very important to cut strips of plywood or hardboard fixed between the joists to form a barrier and keep the eaves clear. The depth of fill necessary is approximately 15cm (6in) – you may need to raise the height of the joists by attaching battens, thus allowing boarding to be laid down for walking on in your loft.
Pour in the insulation fill and spread with a timber or plywood off-cut. Tamp down and level the insulation fill so that it lies evenly between the joists.
To help prevent cold water pipes freezing in the winter, create a bridge out of hardboard before filling with loose fill insulation. This will allow warm air from below to circulate around the cold water pipes. Saw strips of hardboard to length with a handsaw. Using a craft knife and straight edge, cut a pair of parallel lines to the pipes on the hardboard and snap only halfway through, thus forming a bridge to lay over the pipes.
Recent Articles
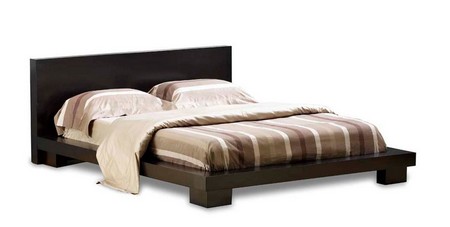 How to Understand Bed Sizes – A Small Guide
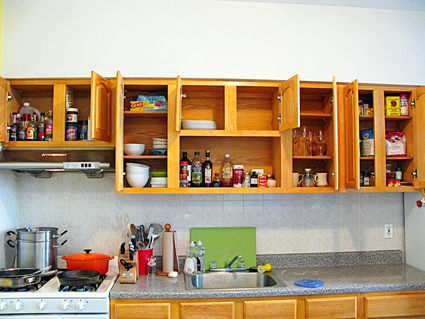 How to Select Some Must Have Kitchen Accessories
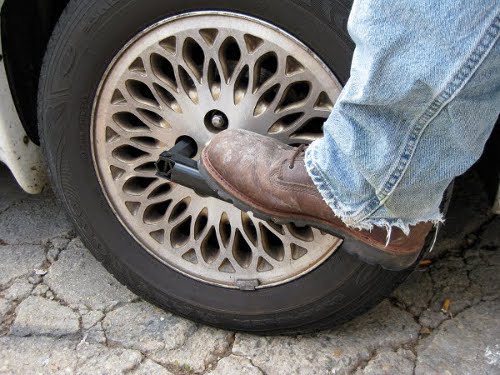 Best Way to Change a Car Tire
 Best Way to Write an Affirmation
 Best Way to Take Charge of Your Financial Life
 Best Way to Survive a Party When You Don’t Know Anyone
 Best Way to Stop Self Sabotaging Yourself
 Best Way to Start Journal Writing
 Best Way to Speak with a Powerful Voice
 Best Way to Simplify Your Life
 Best Way to Respond to a Put-Down
 Best Way to Reduce Acne Breakouts
 Best Way to Recover from Dining Disasters
 Best Way to Quit Your Job Gracefully
 Best Way to Make Your Own Website
Leave a Reply